Hello everybody!!! Today I will be bringing you guys hair review but before that I would like to wish everyone a HAPPY CHINESE NEW YEAR!!!!! ^_^ I hope you all are having a great day just like I have spending quality time with my mother. :)
A year ago, I had my very first volume rebonding and I absolutely love the results that it gives! (Read here for my first volume rebonding experience)
However, with my roots grown out, it is back to its curly state at my crown and I am waking up with super bombastic, frizzy and unmanageable hair once again. >_< Fortunately, my hair saviour came just in time for the festive season. Introducing you The Scene Korean Hair Salon!! :)
Located conveniently at Raffles City Shopping Centre, I was able to get to the salon without losing my way haha. You will only find experienced Korean stylists here at The Scene so you can be sure to achieve authentic and awesome K-wave styles! :D
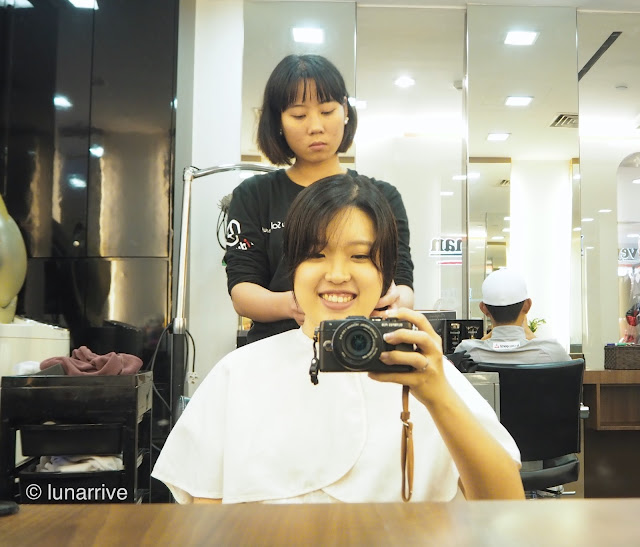
My hair stylist was Jade who recommended me to Volume Rebonding as well as two different kinds of hair treatments to fix the problems I was having. *eggcited*
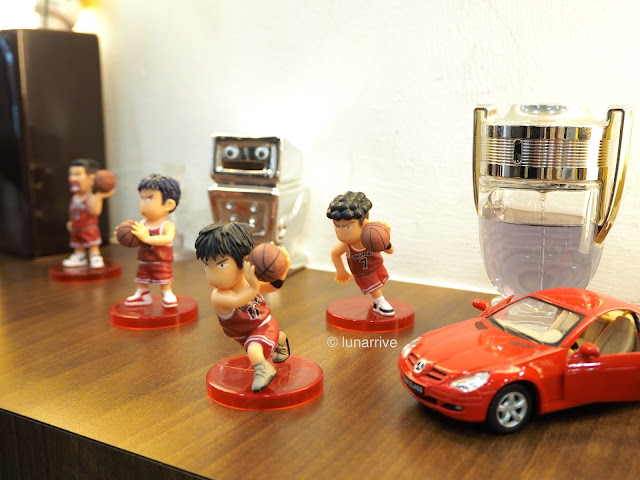
Side note, these figurines are so cuteee haha!!! Now, let me show you some Before shots before I take you through my Volume Rebonding experience.
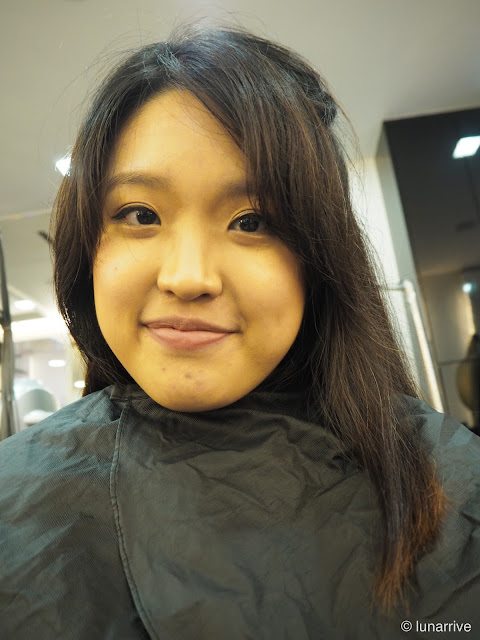
Before Volume Rebonding
This picture you're seeing is considered my good hair day with the waves beside my temple turning inwards. Usually, it would be fraying outwards which is ultra stubborn to flatten especially when I have my spectacles on and the very top would be super frizzy with lots of baby hairs sticking out like antennas. *Sigh*
Closer look at the wave ~.~
Okay let's start for real now :)
Step 1 & 2: Wash and Hair Cut
Starting off with hair wash to prep your hair for the subsequent steps and snipping off 1 - 2 cm of my super dry (or dead) bleached split ends!! I originally wanted to cut off all my bleached hair but Jade said it would have been too short for me so I didn't went ahead with it haha. *Listen to the pro*
Step 3: Deesse's L.M. 3 + 1 Treatment
This treatment helps to soften and tame my hair to achieve better manageability in between the upcoming chemical treatment. :) The reason why it's 3 + 1 because there there is a take-home treatment pack! Here are some of the details of the treatment.
Credits: John and Jack
Pretty awesome technology to nourish the hair to a better state!! ^_^
Step 4: Perm Cream Application
After the treatment was rinsed off, we moved onto the application of the perm cream to break the hair bonds so that it can be altered with a flat iron and curl. :)
Machine to accelerate the perm cream effects! I really like that they put a plastic guard around my eye area to prevent any chemicals from getting close to my eyes! *JJANG!*
Step 5: Wash and Blow Dry
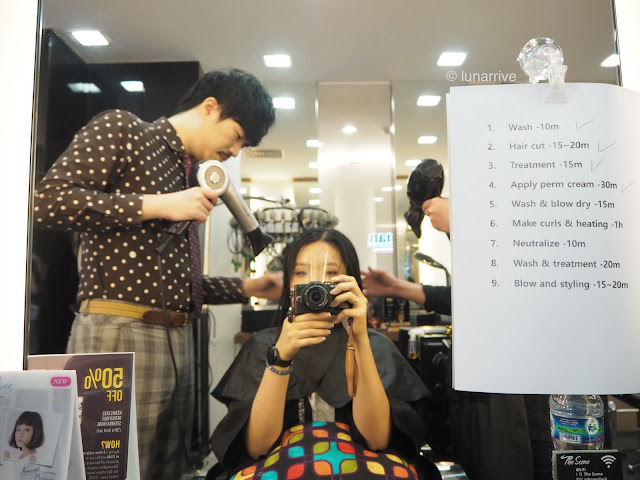
After 30 minutes, the perm cream was rinsed off, my hair was shampoo-ed and blow dried before the C curl perm happens. :) I really like that they printed all the steps involved for the entire Volume Rebonding so that I would be in the loop of what was done and going to be done throughout the session. :D
However, the timing for my case was not accurate because my hair is pretty damaged from my previous chemical treatments so Jade spent a longer time in the hair treatments and heating so as to minimise the damage that will be caused to my hair. It's quite rare to find hair stylists that are so meticulous in every single step of the process. I've met some in the past that just wanted to get the job done and over with quickly without even taking the customers' hair condition into consideration at all which is a major turn off. Hence, Jade's service and work is really awesome. <3
All focused and serious!! *Push up the specs*
By the time the blow dry was completed, it was around lunch time and speaking about great service...
They got me kimbap for lunch and it's seriously super delicious hahaha!! Thank you Jack!! ^_^
Moving onto...
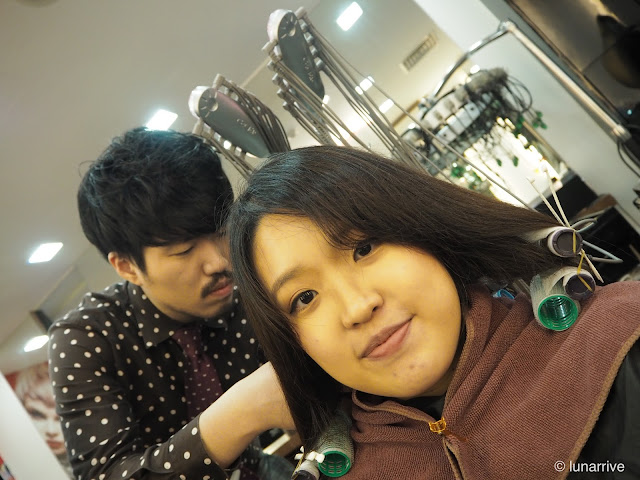
Step 6: Curling and Ironing
Now that the hair bonds are broken, it's time to reset them into the condition that we want and that is to be curled in at the hair ends and straight for the remaining. :)
Jade did the curling first with super focus once again haha
After the curl was done, next is flat ironing to straighten everything out. :)
So 집중! *Thumbs Up*
Step 7: Neutralizer Application
Now that the hair bonds are finally reset, the neutralizer is applied to reform the bonds back and the plastic guard is back to prevent my eyes from getting any contact with the neutralizer. :)
Step 8: Liscio Atenje Heat Care Treatment
After 10 minutes, the neutralizer was washed off and I underwent the Liscio Atenje Heat Care treatment! This treatment is very different from the other hair treatments I've done before in the past whereby a hot towel was placed below my head and my hair was completely covered while the machine and treatment cream were doing their magic. It is meant to repair the damage my hair has went through with the chemicals during the rebonding process. :)
The hot towel was so comfortable that I fell asleep during the treatment hahaha.
Super love this treatment! <3
Step 9: Blow dry and Styling
After the treatment is completed, my hair was blow dried and styled. :)
Here is the end results after 4.5 hours!! :)
Straight, no frizz, manageable and natural looking with the C curl at the ends! ^_^
I love my hair again hahaha. No more crazy hair fraying woes, woohoo!!
Thank you so much Jade for all the efforts to minimise the amount of damage to my hair and the great work! :) The whole experience was really cozy and the service that The Scene provides is impeccable. You can rest assure that your hair would be in a pair of good hands where your concerns and hair condition would be well taken care of here at The Scene just like I had. :)
It's so cute to see the way Jade keeps the hair clips he needs to use close to him by clipping them on his tie haha. This is the new hair stylist fashion trend for sure hahahaha
Now, the Before and After! :D
Tadah!! My hair is silky soft and so much neater now! <3
All the anyhow-fraying waves have been calmed down too! YAY!!
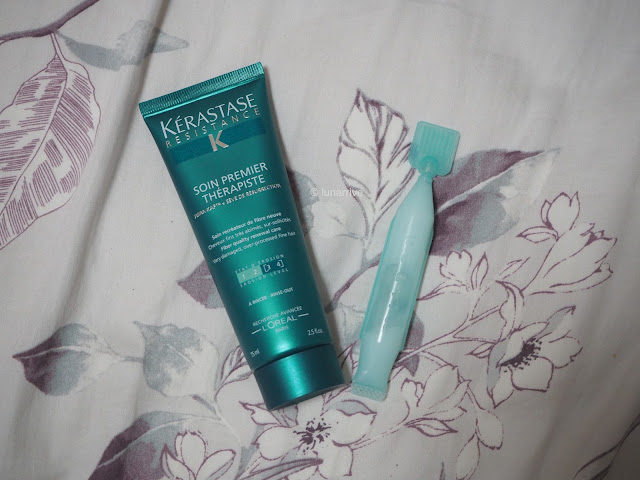
However, dryness bound to exist because of all the chemicals and heating but I did not have to worry because Jade gave me a repair cream as well as a take-home treatment pack! These two are a total saviour in maintaining the silkiness of my hair. <3
In addition, I have some awesome promotions for you my readers!
From the 11th to 29th Feb, The Scene has an e-voucher on their Instagram @thesceneraffles where you guys can flash and enjoy a $30 off with a minimum spending of $100!!
That's not the end!
From 1st March onwards, the first 30 customers to quote my name "Luna" at The Scene will be able to get a 10% discount off your hair services!! :D
That's all to this review and I hope it has been informative and helpful for you! :)
For more details on the hair services that The Scene has, you may refer to:
252 North Bridge Road #03-21A
Raffles City Shopping Centre
Singapore 179103
Contact No.: +65 6333 9613
xoxo, Luna
Special thanks to Jack for the invite and wonderful time! :)













8F86481E5B
ReplyDeletekiralık hacker
hacker arıyorum
belek
kadriye
serik